

Not to be confused with Wind Lord Mel’jarak, even though Blade Lord Ta’yak has three abilities and a whole phase related to wind. This fight requires good positioning and timer-watching for the damage dealers and healers, and tests a tank’s ability to use active mitigation at predictable intervals.
Differences Between Normal and Heroic
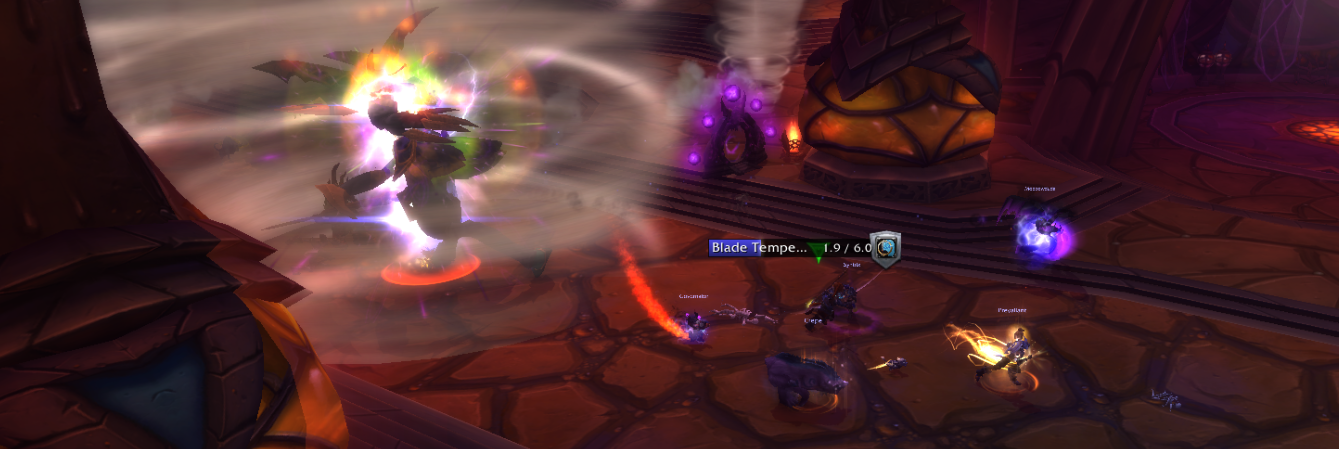
New Ability: Blade Tempest – When the boss casts this ability, he sucks the entire raid into melee range and deals a large amount of physical damage to everyone. Use movement abilities like roll or Stampeding Roar to escape, and keep running away until the ability ends.
Other than that, he only has more health and deals more damage. However, just the one added ability changes the rhythm of the fight (actually making it easier for tanks, in my opinion).
Important Abilities for Tanks
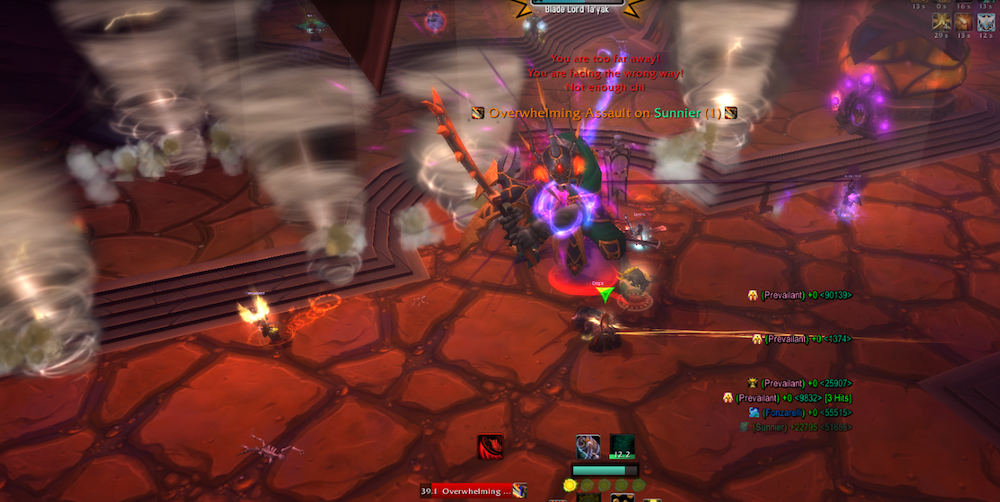
Overwhelming Assault is your key tank skill check, and the reason you need two tanks for this fight. It behaves almost exactly the same as it does in normal and LFR modes; only the timing is different.
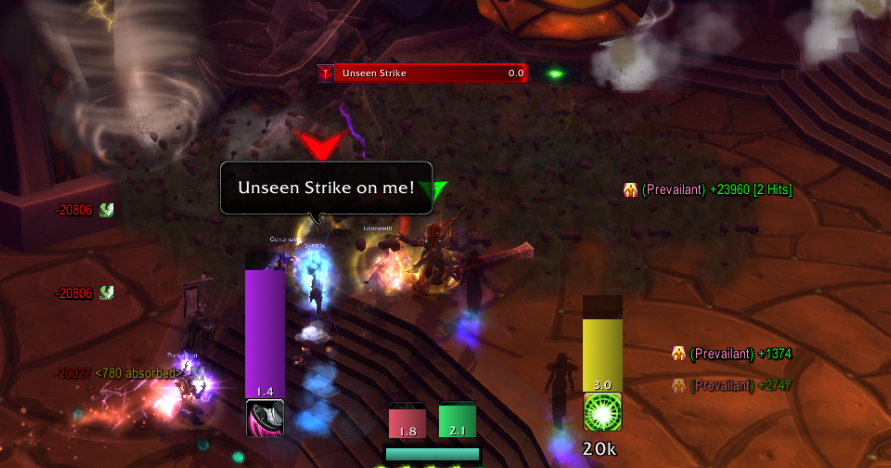
To understand the timing of Overwhelming Assault, first you need to watch for two other abilities: Blade Tempest and Unseen Strike. Blade Tempest is the new ability that sucks everyone in and requires you to run away, and Unseen Strike is the ability that requires everyone to stack to spread out damage.
Blade Lord will always use Overwhelming Assault after these abilities. If you are watching timers, you can see that the Overwhelming Assault timer will hit zero around the same time as either Unseen Strike or Blade Tempest, and he will always use one of those abilities first. Then as Unseen Strike or Blade Tempest ends, he will rush back to his primary aggro target and in a few seconds use Overwhelming Assault. He doesn’t use it instantly, so if you’re fast you should be able to get active mitigation up before the big damage comes.
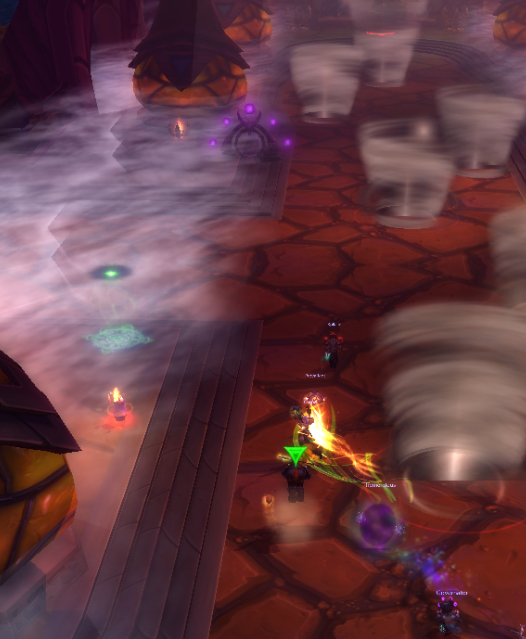
The final key abilities of this encounter, Wind Step and Tempest Slash, don’t hugely affect tanks since we can’t be targeted by either one. Tempest Slash, the skill that throws permanent tornados at other raid members, will require you to slowly move the boss to clear areas so that your raid can stand safely away from the tornados. Your raid should position themselves on the sides of the room, while the tank and melee are in the middle, because any tornados that spawn in the middle will force premature movement, and eventually you could run out of room.
Taunt Swap
Unlike normal and LFR, you can usually swap after a single stack of Overwhelming Assault is applied. There is some overlap, so we usually had the first tank pull the boss and take two in a row (while Blade Lord still has very low stacks of Intensity), then the second tank would taunt and we would swap back and forth after each Overwhelming Assault.
Most tanks should be able to eat two Overwhelming Assaults in a row, even at the end of the first phase, as long as they are prepared with strong active mitigation or cooldowns.
You can taunt at any time, but for most tanks it will be advantageous to build up vengeance prior to getting hit by Overwhelming Assault (so that your attack power-based active mitigation will be stronger). You should try to taunt a few seconds after the other tank gets a stack of Overwhelming Assault, and then keep the boss until you get hit by Overwhelming Assault.
Active Mitigation Uses
Overwhelming Assault cannot be avoided (dodged, parried, missed), but all other damage reduction active mitigation works. Use damage reduction and absorb shields in preparation for the hit. If you have self heals, save up on resources so you can use them immediately after the hit. Avoidance skills won’t reduce the damage of the actual Overwhelming Assault, but they should alleviate some of the normal attacks before and after the hit and keep your health stable, which is still important for staying alive.
Phase 2
Tanks simply become more survivable damage dealers during this phase. Controlled speed boosts like sprints and rocket boots are very useful for running through the tornado gauntlet, while targeted or static movement (like Roll) can be unpredictable and sometimes force you into a tornado.
As a tank, you’ll have a moderately low stack of vengeance, but you should still use potions and cooldowns if applicable because every little bit counts. You can also help by tossing out heals and raid cooldowns.
If you’re watching the boss’s health, you can jump into the slipstreams (the swiftly moving air on the side of the room) before he switches sides and catch a ride to the other side of the room. As long as you time it right and go a few seconds before he hits 10%, you can save time by avoiding the tornado gauntlet.
Brewmaster Specifics
For Overwhelming Assault, keep up Shuffle, and be prepared with two or three chi to use Guard before the hit and Purifying Brew after the hit. Expel Harm is useful for keeping yourself alive, too. We do really well with our active mitigation here, and can pretty easily survive two in a row without big cooldowns.
Dampen Harm is the only useful level 75 talent, and with our general lack of powerful cooldowns, is needed for dangerous Overwhelming Assaults. Be prepared to use it if you’re at low health and you know an Overwhelming Assault is coming in a few seconds.
This is the one place where I’ve found Tiger’s Lust to be more useful than other level 15 talents. Roll can land you inside a tornado in phase 2 and is generally only useful if you see a long, straight path with no tornados. Tiger’s Lust, on the other hand, gives you an easily controllable sprint. If you need to generate Chi to use this ability, use Expel Harm.
Avert Harm is a very strong raid cooldown when used in conjunction with Unseen Strike. As long as you’re topped off, you won’t get close to killing yourself with the damage transfer, though your healers should be notified ahead of time if you’re planning on using it. As usual, be prepared with at least 1 Chi to purify the damage. You can also call for a Hand of Protection to completely avoid the damage, as long as you’re not tanking immediately after the Unseen Strike.