

Heroic Elegon is very similar to normal mode. In fact, if you can clear normal without anyone dying then you should give heroic a try.
General
- 2 Tanks
- 2 Healers
Changes from Normal
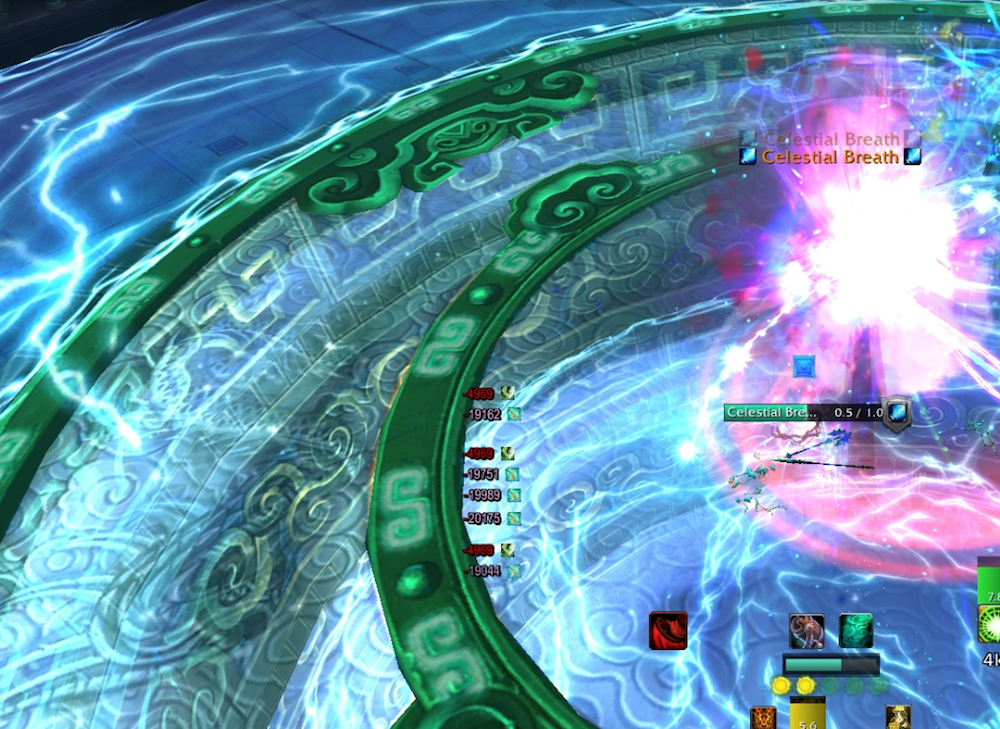
- In heroic mode, when you are inside the circle you can only attack/heal targets that are also inside the circle, and when you are outside the circle you can only attack/heal targets outside the circle. It effectively acts as a line-of-sight blocking wall that you can run through.
- The above modification changes the way you deal with Celestial Defenders and their final explosion quite significantly. They must die outside the circle and a single person must remain outside the circle to prevent Catastrophic Anomaly. (Ideally this person should be a dpser with a defensive cooldown because tanks are busy tanking things.)
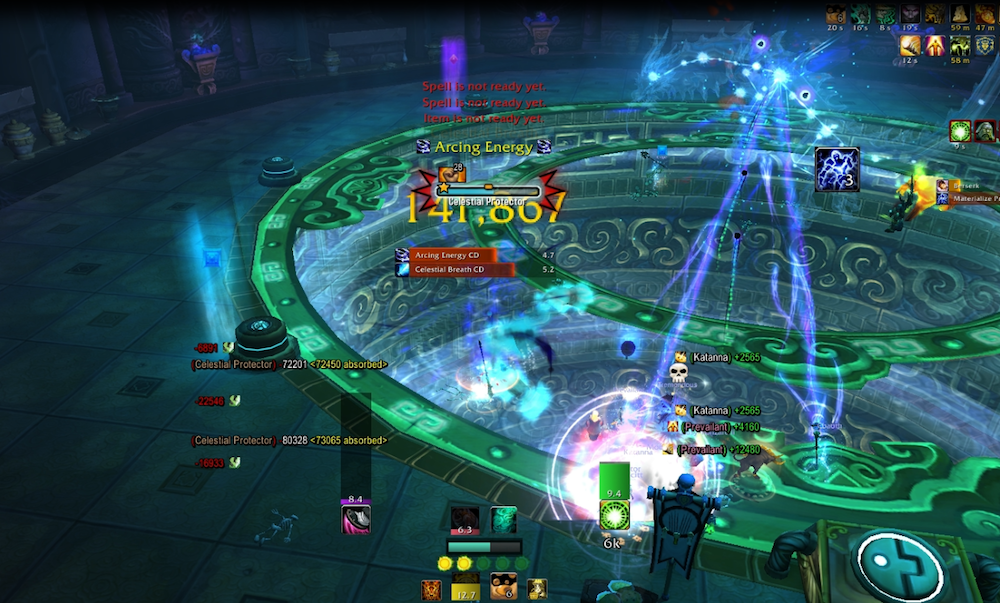
Phase 1: Entering Defensive Mode
This the the stage where the boss is in the middle and needs to be tanked, while sometimes spawning adds that need proper positioning. You will see this phase three times, though the third time will look different enough that it has its own section. Phase 1 transitions to phase 2 when Elegon reaches 85% and 50%.
- Tank 1 should pull, while Tank 2 is standing near the edge of the circle. A few seconds before the first Celestial Defender spawns, Tank 2 should drop their debuff stacks, charge in and taunt the boss while Tank 1 picks up the add. This is to keep the debuff at reasonable levels.
- Tank swaps continue to occur after each Celestial Defender spawn.
- Reset Energy Vortex debuff stacks when it’s your turn to tank the Celestial Defender.
- When you’re tanking an add, bring it to the edge of the circle (but not quite outside the circle) and let your ranged dps burn it down. Once it hits about 35%, roll out of the circle and let it explode out there.
- Unlike in normal mode, tanks should not get hit by Total Annihilation, so you don’t have to use a cooldown to survive the explosion.
- The dragon’s breath is a significant burst of magical damage, so be prepared to use cooldowns, absorb shields, or magical damage reducing active mitigation skills. The damage can be especially deadly near the end of your turn when you have high stacks of the debuff. Also be prepared to use heals after the breath.
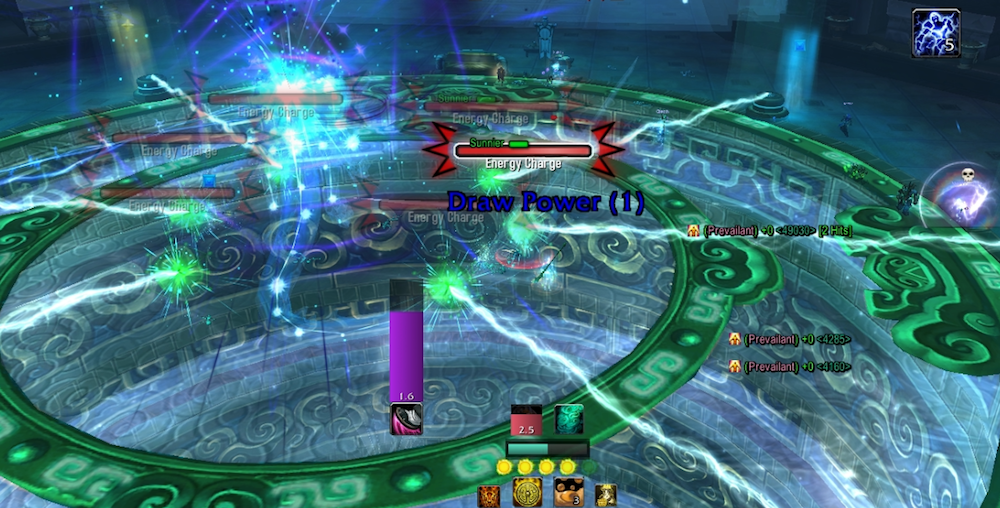
Phase 2: Primary Power Offline
This is the stage where the boss does not need to be tanked, and all you need to worry about is killing your assigned energy sphere before it reaches the edge of the circle. You will see this phase two times.
- As a tank, you can probably handle your own sphere, as long as there’s someone who can help you out should you need it (though this goes for damage dealers as well).
- Save your hard-hitting abilities, like Keg Smash and Mangle, for the orb spawns.
- DPS cooldowns are optimally used here, even if they would result in more total damage when used in phase 1, because getting more orbs down in phase 2 makes the raid deal much more damage for the rest of the fight.
- If you have them, ranged attacks are good for helping other people out.
- Just like normal, the orbs will spawn faster and faster, so at some point you’re best ignoring the newly spawned group and burning the boss. We killed the first six waves, and ignored the seventh.
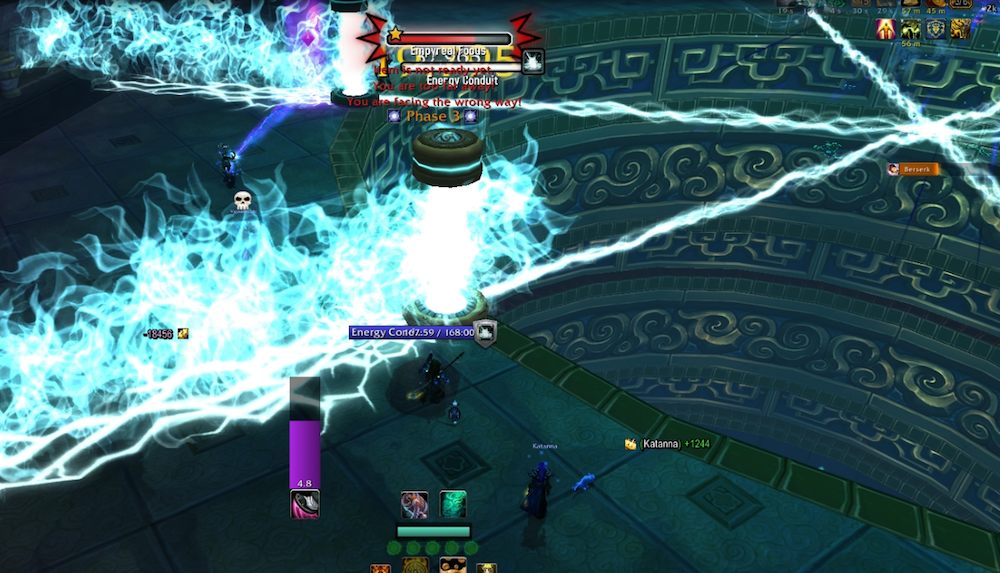
Phase 3: Power Draw Stable
This is the phase where you have to break down walls and pick up small adds outside the circle. You will see this phase two times.
- Each tank needs to pick a side and be prepared to pick up adds that spawn from puddles.
- If you kill each pillar at around the same time, much fewer adds will spawn.
- One tank should go pick up the boss once it becomes attackable, and the other tank should try to pick up most of the adds and kite them. Use AoE snares and control abilities to keep them off you. If you try to stand and tank all of them, they’ll probably kill you because they deal a ton of damage.
- You will most likely have to depend on your damage dealers to kill them.
- Unlike in normal mode, you will have to kite them inside the circle so that healers can cover you. Try to stay near the edge so that you can reset your stacks when it’s time to tank swap on the boss.
- This phase merges into phase 1, so once the first Celestial Defender spawns you’ll continue to taunt swap like before. There may be a few adds alive when it spawns, but most should be dead.
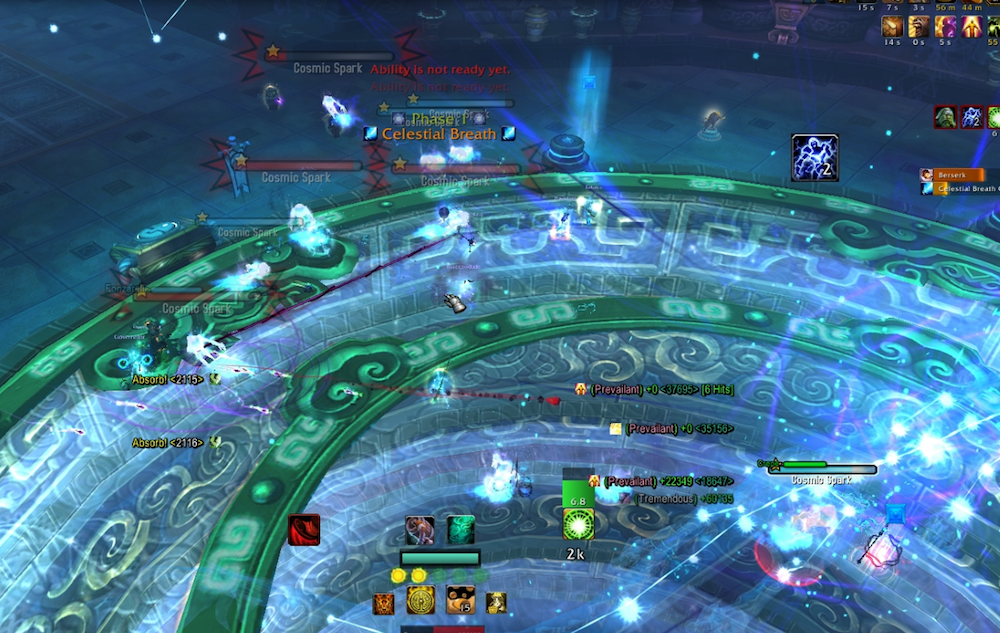
Final Burn Phase
This is technically the same as “Stage 1”, but it feels completely different for tanks so it deserves its own section. It occurs after Elegon reaches 50% health, which should be the third time you see Stage 1.
- Celestial Defenders will no longer spawn and the boss will deal ticking AoE damage to anyone inside the circle. This is the soft enrage, and if your raid takes too long then you’ll wipe from the damage.
- You still need to taunt swap to keep your debuff stacks low. However, instead of waiting for adds like before, you can just run out of the circle to reset stacks, run back in and taunt immediately while the other tank runs out, resets, and taunts upon his return.
- You should try to save big defensive cooldowns for this phase, because your healers will be very stressed already with the massive AoE damage going out. Ideally, this phase should be very short.
- You will take some magic damage when you leave the circle to reset stacks, though this damage in pretty insignificant for a tank.
To Keep in mind when choosing talents and glyphs
- Magical damage reduction is useful for the breaths.
- You need movement abilities to quickly enter and exit the circle to reset stacks.
- AoE control abilities like Leg Sweep are beneficial for kiting the adds in phase 3.
- Kiting abilities, like snares, are also great for phase 3 adds.
- AoE dps is useful for phase 3 adds, but not necessary, as you’ll most likely be out of range kiting.
- Phase 2 requires damage dealing abilities and cooldowns to kill lots of orbs. A three minute cooldown should be available each time you see this phase.
- Burst healing is best to recover from breaths and getting caught by the little adds, though absorb shields would be even better.
- For raid utility and healing, keep in mind that most of your raid will be spread into three areas for phase one (ranged/healers, melee, and tanks), and completely spread out for phase 2 and 3.
Brewmaster Things
- Glyph of Guard is nice, but optional, depending on how you use Guard.
- Transcendence is actually useful here. Drop it down in the middle of the room for phase 2 so you can reset your stacks then instantly port back in, and later you can drop it again outside the circle and that lets you stay in dpsig the boss until immediately before the floor drops.
- Touch of Death any orbs you might have a problem killing in time. If it’s still up by the last one, use it then.
- During phase 3, taunt off your statue to pick up all the adds near it.