
As usual, I expect you to know the basic mechanics of each fight and I only describe the stuff tanks might need to know that might not be immediately obvious. I’ll update this guide as I learn more, but it’s not meant to be super detailed.
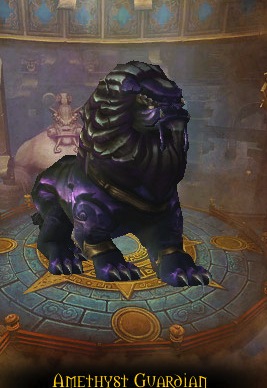
The Stone Guard
Tanks: 2
Healers: 3
Your job as tank is to taunt the stone guards back and forth, depending on which one is casting Petrify. In general, this is the logic you should follow:
- If the guardian casting petrify is already with another guardian, do nothing.
- If the guardian casting petrify is alone, taunt the guardian with the lowest energy to it.
The only time you should do something other than the above logic is during the initial pull. To prevent two guardians exploding at the same time, you should taunt the petrifying guardian once its partner reaches around 50 energy. After that, do everything as you normally would. If you follow this logic, you could be tanking either one or two guardians at any time. Taunts should be fast.
This is a surprisingly difficult fight for the first boss of the first raid, and the tanks take quite a bit of damage during the entirety. You shouldn’t need to worry about the explosions, but you will be taking a lot of physical burst and physical damage over time. You’ll need to occasionally move to help your dps avoid puddles, but other than that this is not a movement intensive fight.
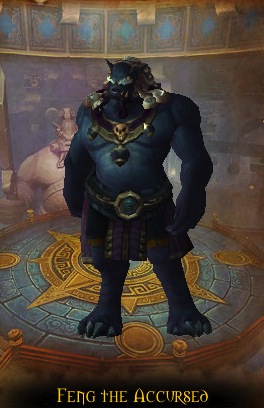
Feng the Accursed
Tanks: 2
Healers: 3
This sounds like a single tank encounter on paper, but you will need two tanks because about 5 seconds into the fight two crystals will spawn that only tanks can use. When you click on the crystal, it disappears and you receive an special ability: either Nullification Barrier or Shroud of Reversal. Both of these abilities require you to channel, so you cannot currently be tanking the boss while using them.
Nullification Barrier
Acts similar to a Death Knight’s Anti Magic Zone, but absorbs all magic while inside the bubble. It can be used to protect the raid from nearly everything, including Epicenter, Draw Flame, and Arcane Velocity. You cannot move or use any other skills while the bubble is active.
Shroud of Reversal
This ability requires you to target an ally and channel on them. The next debuff to land on your ally during the channel becomes your own, and replaces your extra action button to use at your discretion. If no debuff lands on your ally, the cooldown on the ability is reset and you can channel again. Once you gain a skill and use it, a cooldown of 25 seconds will begin. You can use this ability to gain nearly any spell the boss uses, including any of the tank DoTs, Epicenter, Lightning Fist, and Arcane Velocity.
Taunting
The boss puts a stacking debuff on the current tank. It won’t get very deadly, but it’s better for the healers if you swap often. We found that swapping after each epicenter and draw flames was good for the first and second phases. You can also just taunt after 2 stacks, which is what we did for the third phase.
Movement is only of minor importance to this fight. The boss deals both magical damage both in burst and in damage over time. You will have some opportunities to off heal, if you’re capable of that sort of thing.
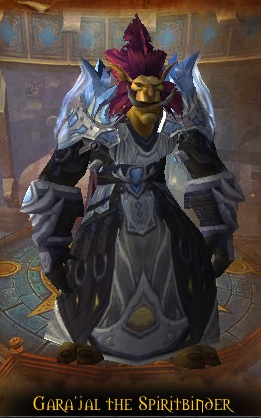
Gara’jal the Spiritbinder
Tanks: 2
Healers: 2
This is an easy fight for tanks. Whoever pulls the boss first will get focused after a few seconds, so the boss cannot be taunted after that point. The boss will hit you with physical and shadow damage (though the shadow damage can be avoided) and your job will be to minimize damage you take so that the voodoo dolls won’t die. This is one of those situations where damage reduction and avoidance is far more valuable than your typical survival stats, so use avoidance trinkets.
After a while the boss will banish you and target the person with the next highest threat (hopefully the other tank). While down in the spirit realm you can help damage dealers kill adds, but you should probably just focus on killing the one add that gets you out. This add is bigger than the rest and should be easy to kill. Warn the healers before it dies because it deals an AoE burst of damage at the end. Once out, dps the boss until he banishes the other tank.
The boss enrages at 25% and deals a significant amount of damage, so save your big cooldowns for this moment. Damage dealers won’t be able to go into the spirit realm, but you will still be occasionally banished and need to kill your big add to return. Try to get out as quickly as possible.
Movement is not vital for this fight. You’ll need to be able to kill an add with around 400k health in less than 30 seconds (the faster, the better). Magical damage is common, but most of it is avoidable.
Spirit Kings
Tanks: 1
Healers: 2
The most important thing for the tank on this fight is pulling properly. The first boss needs to be pulled by a ranged attack while the tank stands with the rest of the raid, similar to Majordomo Staghelm, because he almost instantly casts an ability that needs to be split by the entire raid.
Other than that, there’s not much to this fight that’s tank-specific. You will need to avoid the extra abilities much like the rest of the raid and communicate when and where you’re moving the boss, but that’s about it. You might have to be a part of the interrupt rotation as well.
Just like for everyone else in the raid, movement and raid awareness is key.
Elegon
Tanks: 2
Healers: 2
This fight places a stacking debuff on anyone in the center of the room. For this reason, you need to tank swap often. The best time is when the Celestial Defenders spawn. To lay it out:
Tank 1 pulls the boss, Tank 2 waits outside the circle until ~5 seconds until the Celestial Defender spawns, then runs in and taunts the boss. Tank 1 picks up the add, runs out of the circle to dispell the debuff, runs back in because the add has to be tanked inside the circle, then tanks it until it’s about to explode. During the explosion, Tank 2 should have big cooldowns running because they will have high stacks of the debuff and a ton of damage is going out. Repeat, swapping the boss and clearing debuffs whenever a new add spawns.
Phase 2 is simply a dps phase, but your vengeance should be pretty high for most of it and you should be able to help dps burn down sparks.
During phase 3, you will need to pick up the small adds that drop from the above. These melee surprisingly hard and should be picked up ASAP. If you can, kite them. They’re elementals, so they can be stunned by glyphed holy wrath. They can be snared but I don’t think they can be rooted. When both sides come together, one tank should pick up as many adds as they can and AoE stun and kite them while the other tank picks up the boss.
You will repeat the same process for phases 1 to 3 again, and then the burn phase will start. The burn phase is similar to phase 1 except no adds spawn. You will still need to tank swap often because damage is incredibly high, but this time when you step outside of the circle to reset your debuff, you will take a burst of magic damage. Simply swap as soon as you are able.
This fight deals a lot of magic damage and emphasizes mobility, so cater your talents glyphs to that.
Will of the Emperor
Tanks: 2
Healers: 2
Your primary job as the tank will be to pick up the named bosses (Jan-xi and Qin-xi) that spawn about a minute into the fight. Tank them on opposite sides of the room. I’ve already documented the dance you’ll have to perform here, but the simplified version is to zoom your camera way out and go where the blue streaks are not, though I still prefer to watch the feet and memorize what each position means.
These bosses deal a massive amount of physical damage when you’re not doing the dance, and obviously bursts of movement are valuable for the dance itself. Most of the other adds can be crowd controlled, though that’s mostly unnecessary for normal mode.
Conclusion
If you have any quick-and-dirty advise for tanks clearing this raid, please let me know in the comments. :)